
Last updated August 26, 2026
Free on-site gate assessment - hinges, posts, and your LiftMaster or Nice gate operator checked before anything is quoted
The assessment is free and the quote is the invoice.

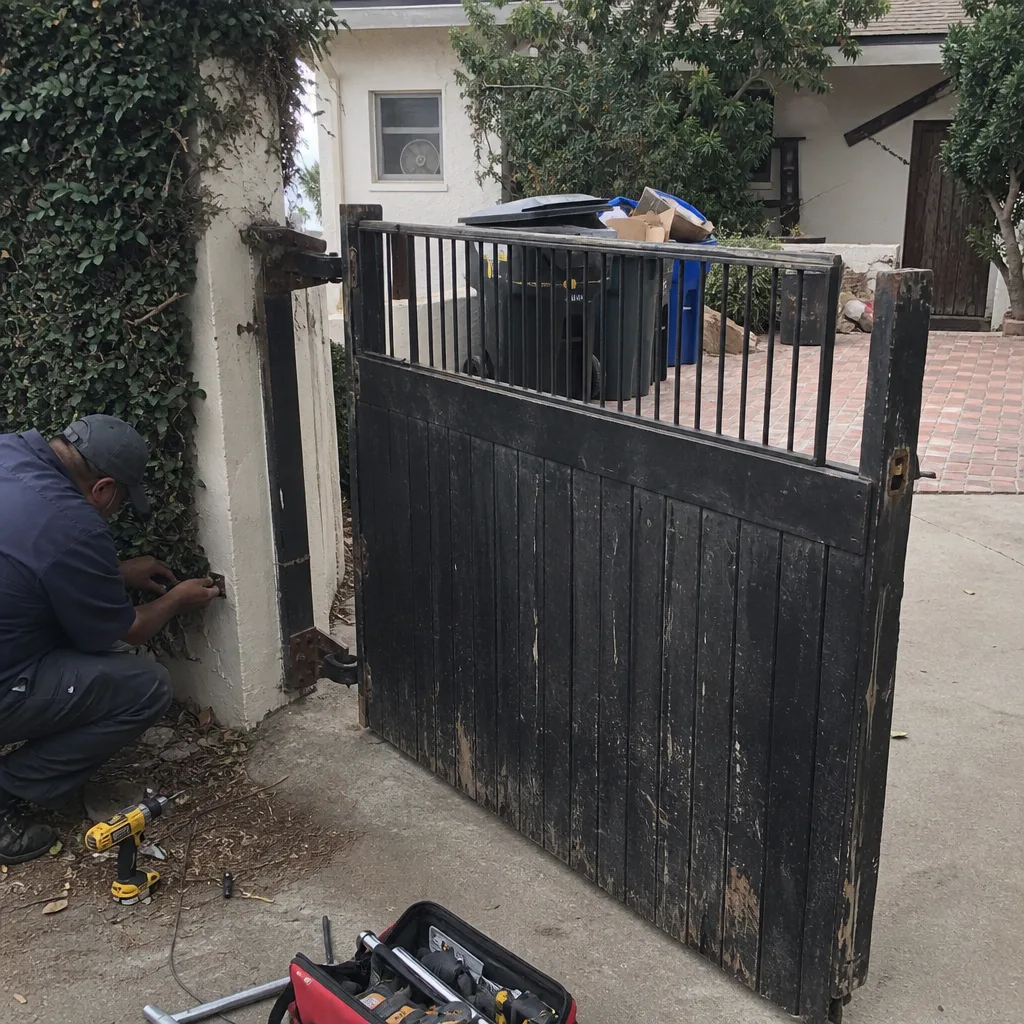 Before
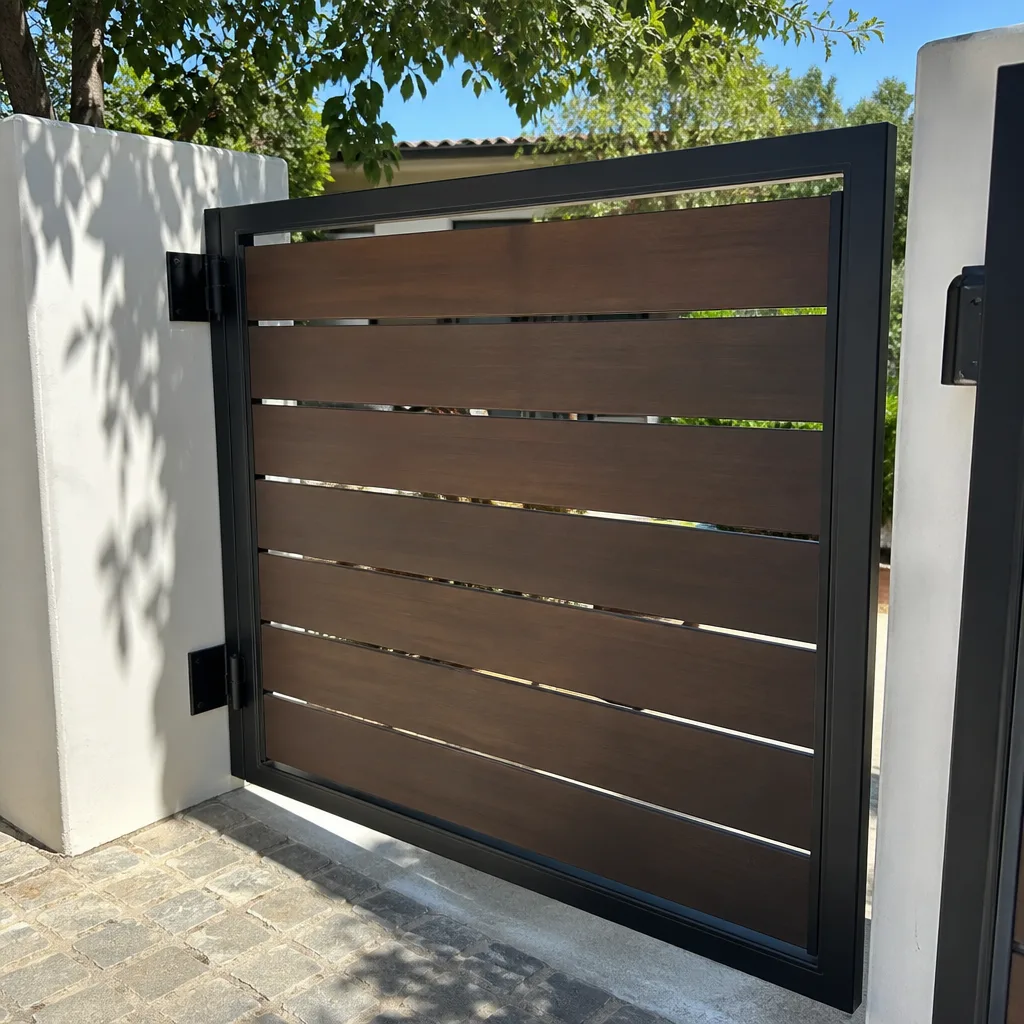 After
After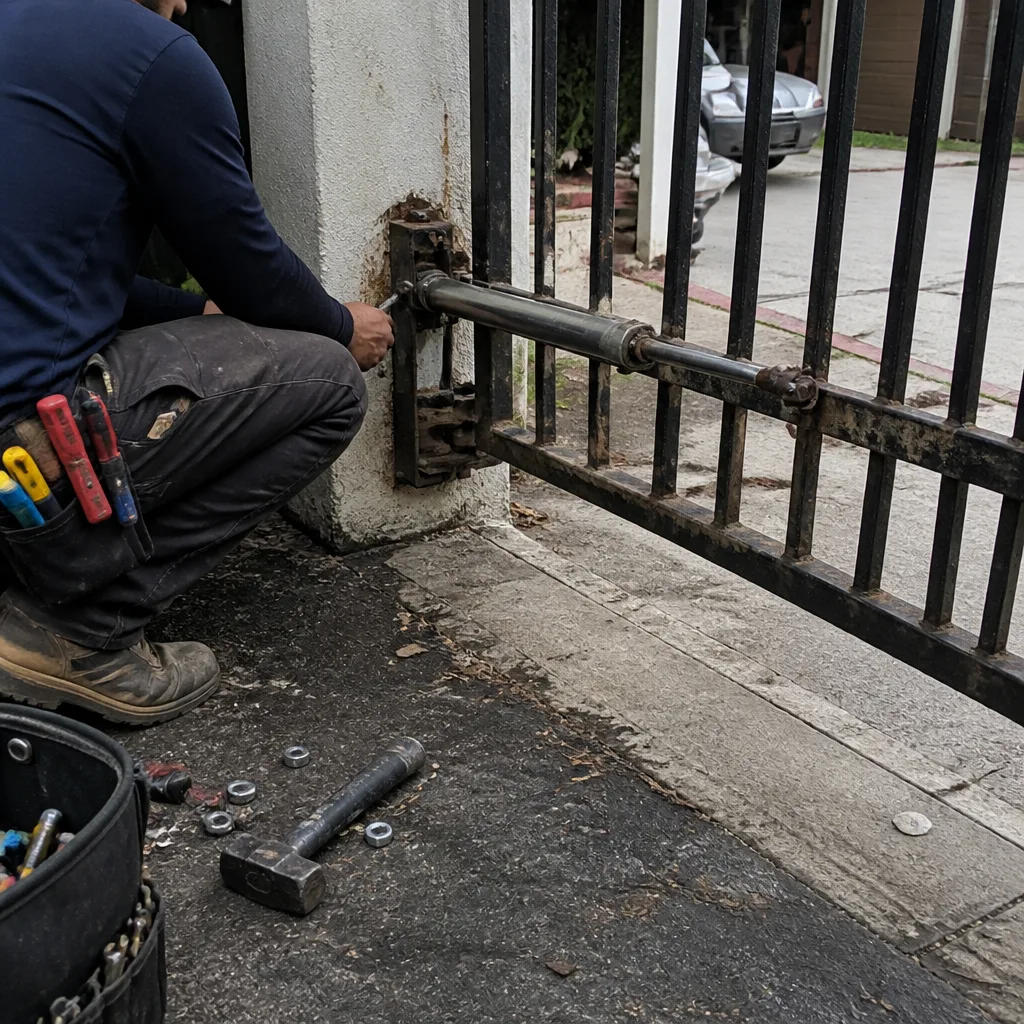 Before
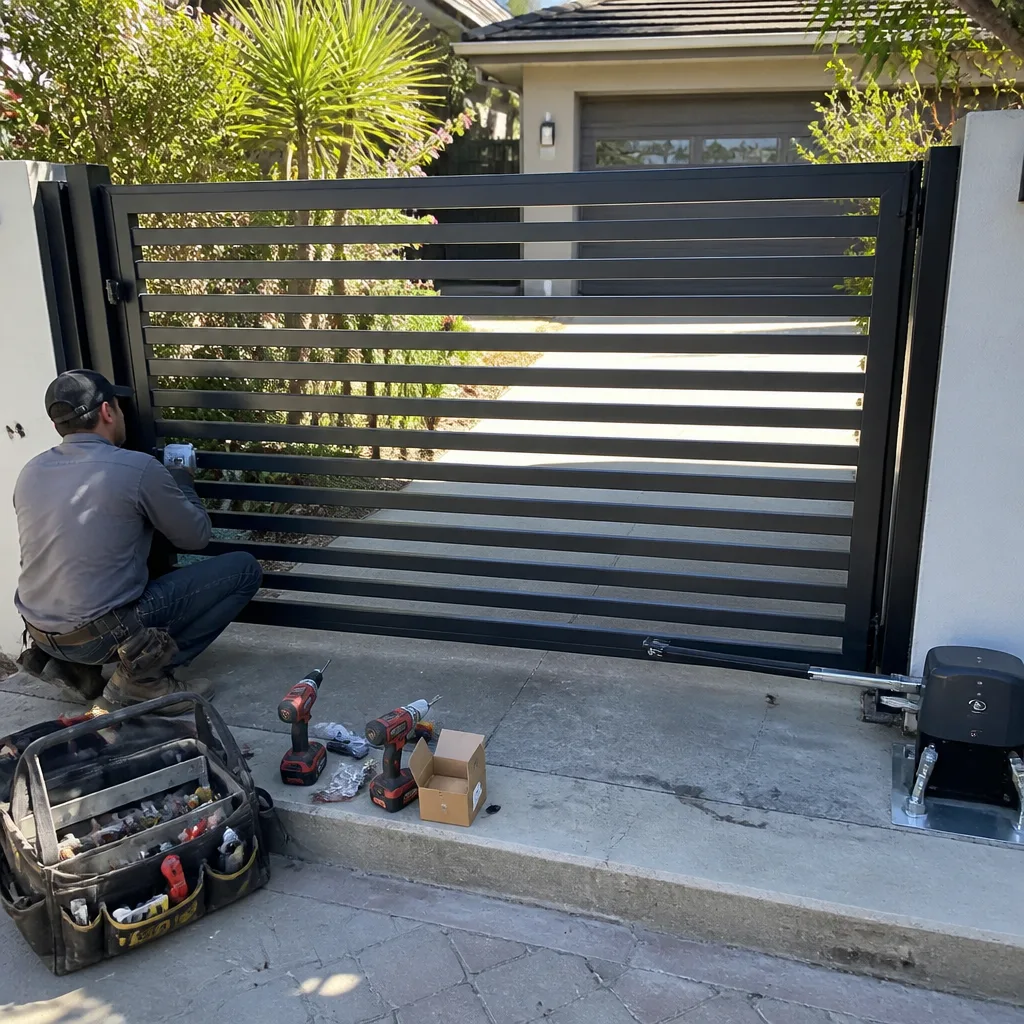 After
After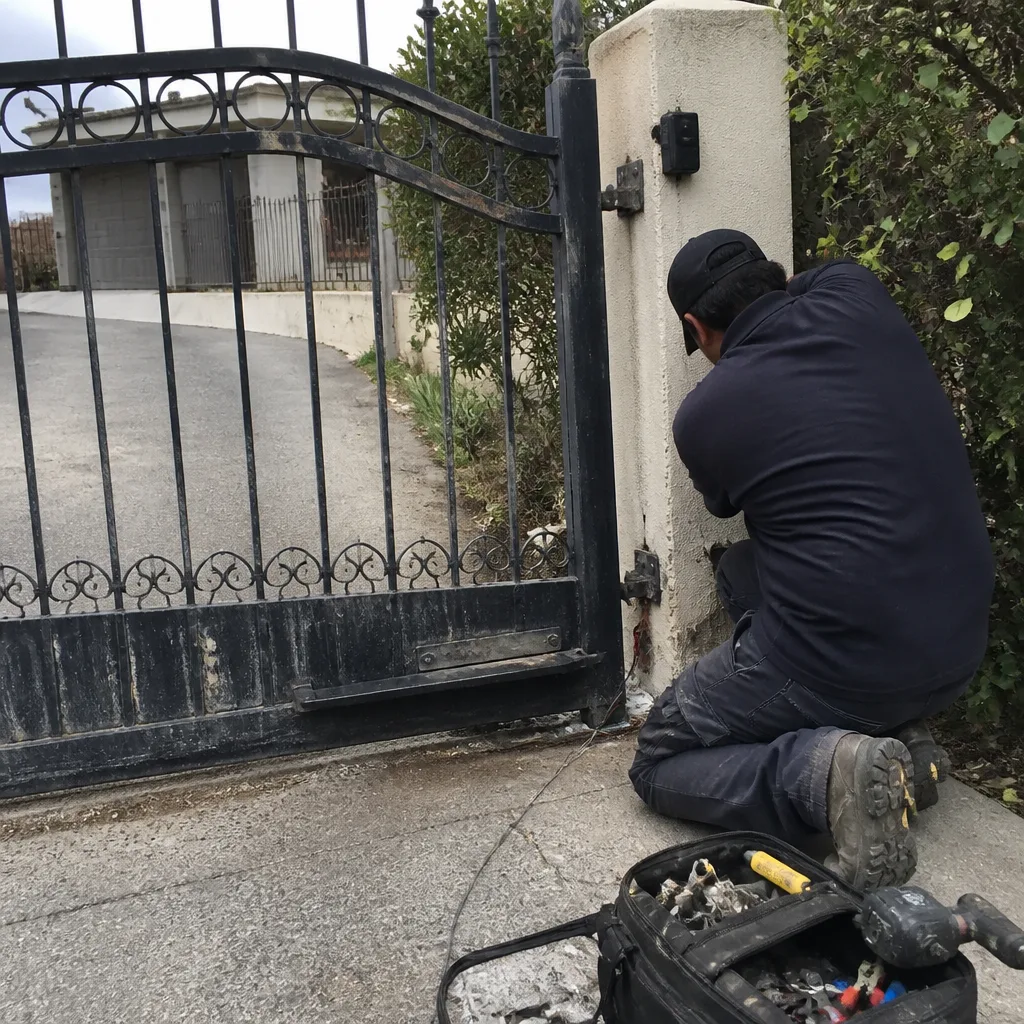 Before
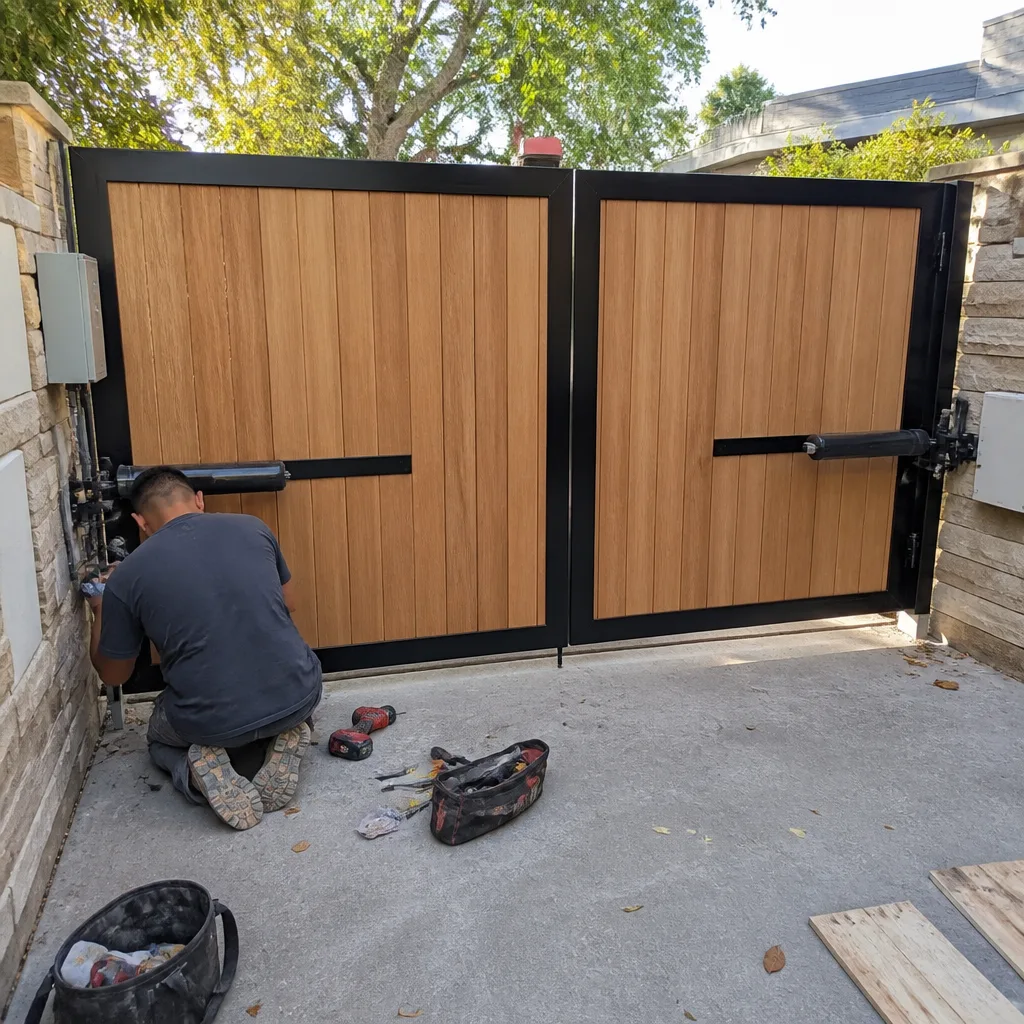 After
AfterDIY vs Professional Gate Repair: The Malibu Homeowner’s Decision Guide
Most gate repair advice online is written by people who’ve never had to drag a 400-pound steel gate back up a Malibu hillside driveway after a cable snapped. I have. Here’s the truth nobody tells you: the line between a smart DIY fix and a repair that costs three times more to undo isn’t about your skill level. It’s about the gate’s weight, the failure point, and whether the person holding the wrench understands what happens when a torsion spring lets go. This guide draws on 29 years of gate work in Malibu, where salt air corrodes hinges faster than inland, where driveways pitch at angles that make jacking a gate dangerous, and where a gate left unlatched overnight isn’t a minor annoyance. It’s an open invitation to anything wandering down from the Santa Monica Mountains.
You’ll leave this page knowing exactly which repairs you can handle on a Saturday morning, which ones need tools that cost more than a professional Gate Repair services call, and why California’s UL 325 entrapment laws mean your newly purchased opener might not be legal to install without a compliance understanding most homeowners don’t have. Fair warning up front: I fix gates for a living. But I also live here, and I’d rather you not lose a finger learning what I already know.
Quick Answer
DIY gate repair in Malibu makes sense for low-risk tasks like swapping remotes, replacing keypad batteries, straightening minor latch misalignment, and lubricating hinges. Professional repair is the right call for anything involving the gate’s weight-bearing structure, torsion springs, underground electrical runs, operator replacement requiring UL 325 compliance, or any repair on a sloped driveway where a falling gate becomes a 300-pound hazard. If the gate can crush you, pinch you, or fall on a car, hire someone who’s done it before.
Table of Contents
- What’s Genuinely DIY-Safe: The Short List
- What You Should Not Touch: Weight, Springs, and Voltage
- Why UL 325 Makes Operator Replacement a Legal Question, Not Just a Mechanical One
- The Malibu Access Problem: Hills, Narrow Driveways, and Salt Air
- What a Botched DIY Repair Actually Costs to Undo
- The Two Questions That Tell You Whether You’re in DIY Territory
- The Tool Reality Check: What’s Actually in Your Garage
- Common Mistakes to Avoid
- When to Call a Professional
- Frequently Asked Questions
What’s Genuinely DIY-Safe: The Short List
I’m not going to tell you to call me for everything. That’s not how I operate, and it’s not honest. There are real tasks a homeowner in Malibu can handle with basic tools, a little patience, and maybe a YouTube video or two. The rule I use is simple: if the part you’re touching doesn’t bear weight, doesn’t carry line voltage, and isn’t under stored mechanical tension, you’re probably fine. Here’s the list.
Remote Control Replacement and Programming
If your remote died, buy a compatible replacement and program it. Most LiftMaster, Mighty Mule, FAAC, and Elite openers made in the last 15 years have a learn button on the control board that takes thirty seconds to find and press. Kill the power first, hold the button, press the remote. Done. This is beginner-level work with no safety risk.
Keypad Battery Replacement
Outdoor keypads in Malibu eat batteries faster than inland because temperature swings between Point Dume fog and canyon heat stress the contacts. Give the keypad a wipe, pull the old battery, drop in a fresh one, and re-enter your code. If the buttons feel sticky, a cotton swab with rubbing alcohol fixes ninety percent of failures. No tools beyond a screwdriver required.
Hinge and Roller Lubrication
A gate that squeaks on every opening cycle is telling you it’s dry, not broken. Use a spray lithium grease or a silicone-based lubricant on the hinge points, roller bearings, and the chain track if you have a slide gate. Wipe away excess so dust from Malibu’s dry season doesn’t turn it into grinding paste. Do this twice a year and you’ll add years to the hardware. For a complete schedule, see our Gate Repair Maintenance Checklist for Malibu Homeowners. This is the single most ignored maintenance task I see on gates across Malibu.
Photo Eye Alignment
If your gate reverses for no reason and the photo eyes on either side of the opening have blinking lights, they’re misaligned. Loosen the mounting bracket, nudge the eye until the indicator light goes solid, tighten it back down. Check that nothing’s growing over the lens. Malibu’s coastal morning fog can also condense on the lens and cause false triggers. A wipe with a dry cloth fixes that too.
Latch Strike Plate Adjustment
A gate latch that doesn’t catch can often be fixed by adjusting the strike plate up or down an eighth of an inch. This is a ten-minute job with a screwdriver. If the gate post has shifted more than a quarter inch, though, you’re not fixing a latch problem. You’ve got a post problem, and that’s a different conversation entirely. Stop there and read the next section.
What You Should Not Touch: Weight, Springs, and Voltage
This section matters more than everything else on this page combined. I want you to understand the failure modes, because any task in this category can injure you with zero warning.
Torsion Springs
A torsion spring on a residential gate typically stores between 300 and 800 pounds of torque. When it releases suddenly because a homeowner loosened the wrong bolt without a winding bar properly seated, it doesn’t just pop. It moves fast enough to break bones, shatter a jaw, or remove fingers. I’ve repaired gates in Malibu where homeowners attempted spring replacement and the spring tore through the gate frame like a bullet. This is not a “watch a video and figure it out” repair. This is a “put down the wrench and call someone with the right tools and the scars to prove they’ve earned them” repair. Never open a spring tensioning assembly unless you have the exact winding bars for that spring size and experience with staged release. If you don’t know what staged release means, that’s the only sign you need.
Gate Panel Removal or Re-Hanging
A decorative steel driveway gate in Malibu typically weighs between 250 and 600 pounds. Hillside lots often call for taller gates, which means more steel and more weight. Lifting one off its hinges requires three people minimum for a small gate and a crane or gantry for a large one. Your back is not a lifting device rated for this. Neither is your neighbor’s. A gate that tips while you’re wrestling it off the post will crush whatever is underneath it, and that’s usually you or the person trying to help you. Professional gate crews in Malibu use panel lifters and trucks with hydraulic arms because we’ve all seen what happens when someone tries to save a few hundred dollars and ends up in urgent care.
Underground Power and Conduit Work
If your gate opener’s power feed runs underground and it stopped working, do not start digging. Malibu hillside properties routinely have irrigation lines, low-voltage landscape lighting, and in some canyons, unmarked utility runs within a few feet of the gate post. Cutting through a 120-volt line with a shovel is a fast way to learn whether you’re still quick on your feet. Professionals use line locators and, when needed, call DigAlert before breaking ground. In Malibu, where some lots have power lines that predate current mapping standards by decades, the risk of an unmarked line is higher than you think.
Safety Edge and Entrapment Sensor Replacement
These sensors are the thin rubber strips that run along the leading edge of your gate. When they sense pressure, they signal the operator to reverse. If one fails, your gate becomes a pinch hazard. Replacing one means splicing low-voltage wiring, calibrating sensitivity correctly, and verifying that the reverse function works at multiple points along the gate’s travel. Get the calibration wrong and your gate thinks the obstruction is normal. The next person who gets caught in it won’t have time to argue.
Why UL 325 Makes Operator Replacement a Legal Question, Not Just a Mechanical One
Here’s the part most DIY blogs skip entirely, and it’s the most important thing you’ll read today if you’re thinking about swapping an opener yourself. Every automatic gate operator sold and installed in the United States must comply with UL 325, the entrapment protection standard enforced since 2001. In California, the requirements are layered on top of that with state-specific enforcement and liability implications that follow the property owner, not just the installer.
A compliant installation requires external entrapment protection devices. That means photo eyes, safety edges, or both, depending on the gate type and the operator category. It requires specific placement heights, specific response sensitivity, and specific wiring methods that isolate the safety circuit from the motor control circuit. When you buy a new operator from a big-box store, the unit itself is UL 325 listed as a component. That listing means nothing if the installation doesn’t match the requirements for your gate configuration.
Here’s the specific problem for Malibu homeowners. Many properties were built with operators installed before the current UL 325 revision tightened requirements. Those old systems might grandfathered in until they’re replaced. The moment you swap the operator, you’re no longer grandfathered. The new installation must be fully compliant as it sits that day. If you don’t add the required safety edges or photo eyes, you’ve created a liability that your homeowners insurance can point to when someone gets hurt and the claim lands on your policy.
We’ve walked onto Malibu properties where a homeowner installed their own opener, wired the two photo eye terminals directly together to bypass the reverse signal because the gate kept false-triggering, and ended up with a gate that would close on a car or a child with no resistance detection. That’s not a repair. That’s a lawsuit waiting for a lawyer. A professional installer knows which operators from LiftMaster, FAAC, BFT, Mighty Mule, Elite, and others require which external safety devices, and won’t hand you back a gate that’s illegal to operate.
The short version: you can physically bolt a new operator to the post in an afternoon. Making it legal to operate in California is a different job entirely, and the devil is in the placement of the safety devices, not the mounting of the motor.
The Malibu Access Problem: Hills, Narrow Driveways, and Salt Air
There’s a reason I carry more specialized equipment to gate jobs in Malibu than a technician working in the flatlands of Sherman Oaks needs. The property conditions here change what’s physically possible for a homeowner working alone. Let’s walk through the three access realities that decide whether your weekend repair plan is realistic.
Sloped Driveways and Gate Weight Transfer
Plenty of Malibu homes sit on lots where the driveway climbs ten or twenty feet from the street to the house. When a gate on a slope comes off its track or drops from its hinges, the weight doesn’t sit still. It slides downhill. A 400-pound gate on a fifteen-degree slope creates a sideways force well beyond what a pair of homeowner-sized arms can control. Even jacking a gate back into position on a slope requires blocking, chaining, and understanding where the load will go when you release the jack. If you’re working uphill of the gate and it shifts, you’re now downhill of a sliding steel panel. That’s not a position anyone should be in.
Narrow Driveways and Limited Work Space
Many older Malibu lots predate the era of three-car garages and wide driveway aprons. A gate repair that requires removing a panel needs swing room. On a narrow driveway pinched between a retaining wall and a hillside, that swing room doesn’t exist. Professional crews handle this with panel lifters that hold the gate vertically and pivot it efficiently, rather than trying to muscle it sideways into a gap that isn’t there. If your driveway is under about fourteen feet wide, assume any repair that requires the gate to come fully off its hinges is a professional job. You simply don’t have the room to handle it safely.
Salt Air Corrosion and Fused Hardware
There’s no polite way to say this: Malibu’s coastal air destroys gate hardware faster than almost any environment in Southern California. Rust, galvanic corrosion between dissimilar metals, and salt crystal buildup in hinge barrels mean bolts that should turn with moderate force often need heat, penetrating oil soak time, or cutting. Homeowners with a hardware store socket set and a breaker bar will round off corroded bolt heads and turn a simple hinge replacement into a drill-out job. Professionals deal with this daily and come prepared with induction heaters, impact-rated extractors, and the patience to know when a bolt is a lost cause before making it worse. We’ve also seen salt corrosion eat through gate frames from the inside, especially on older wrought-iron gates in neighborhoods like Point Dume and Paradise Cove where the marine layer hangs longer.
What a Botched DIY Repair Actually Costs to Undo
I’m not going to scare you with worst-case scenarios about hospital bills and lawsuits, though those are real. What I want you to understand is the math you can calculate today. When a DIY gate repair goes wrong, you almost never just pay for the original repair to be done properly. You pay for the damage your attempt created first, and that damage is often more expensive than the original repair would have been.
Here’s the math I’ve seen play out on real jobs in Malibu. A homeowner attempts a hinge replacement on a driveway gate. The bolts are rusted, so they use a breaker bar and strip the threads on two of the three bolts holding the hinge bracket to the post. A proper hinge replacement would have taken an hour and cost a couple hundred dollars. Now the stripped bolts need to be drilled out and the threads re-tapped. If the drilling damages the post, a new post section needs to be welded in. That job is now four hours plus welding, and the bill is triple the original quote.
A different homeowner tries to adjust their gate opener’s limit switches because the gate stopped fully closing. They open the control board, short two terminals against each other with a screwdriver slip, and fry the board. A limit switch adjustment would have cost a service call minimum. A new control board for a FAAC or LiftMaster operator can run $300 to $700 for the part alone, plus installation and reprogramming.
A third homeowner decides to weld a crack in their gate frame themselves with a borrowed flux-core welder. Flux-core welding on gate steel without proper surface prep creates a brittle weld with poor penetration. It looks fine for a few months. Then the gate cycles a few thousand times under its own weight, the weld fails, and the crack extends further into the frame than it started. By the time it reaches a professional, the repair requires cutting out the damaged section, fabricating a replacement, and welding with proper MIG equipment. That’s a $500 to $1,200 repair depending on the gate size and finish work.
The pattern is identical every time. The original repair was straightforward. The attempted repair introduced new damage that needed to be undone before the original problem could be addressed. If you’re doing the math honestly before you start, ask yourself one question: if this goes wrong, can I afford the repair plus the damage?
The Two Questions That Tell You Whether You’re in DIY Territory
Before you touch anything, ask yourself these two questions. If you can answer both of them honestly and confidently, proceed with the DIY work. If either answer is uncertain, stop and make a phone call. That’s not gatekeeping. That’s me saving you money.
Question 1: What happens when this fails while my hands are on it?
This is the only safety question that matters. When the spring lets go, when the gate slips off the jack, when the saw kicks, where do the forces go? If the answer is “away from me because the load is controlled and I understand the release path,” you’re in okay territory. If you don’t know what the release path is, you don’t understand the repair well enough to start it. Torsion springs, cable tension systems, weighted panels, and anything under vertical load all have release paths. Professionals learn them by training and by watching older professionals. You don’t guess at this.
Question 2: If I make this worse, can I get it back to where I started?
A stripped bolt can’t be un-stripped. A fried control board doesn’t un-fry. A broken spring doesn’t re-coil. Before you start any repair, ask whether the current state is something you can restore if you make a mistake. If the answer is no, and the current state is a functioning gate with a minor issue, the risk math doesn’t work in your favor. There’s a meaningful difference between fixing a rattling latch and attempting a hinge replacement where every bolt is rust-fused. One mistake on the latch and you’re still in the same position you started. One mistake on the hinge and you’ve got a gate lying in your driveway that you can’t lift.
If you answer both questions cleanly, go ahead and take a shot. You’ll save money and learn something. If you hesitate on either one, that hesitation is your answer. Call a professional who’s seen this failure mode before, preferably one who’s seen it in Malibu and knows what our coastal hardware does to bolts and bearings.
The Tool Reality Check: What’s Actually in Your Garage
Most gate repairs that homeowners shouldn’t attempt come down to one simple fact: the tools required are expensive enough that buying them for a single job costs more than hiring the repair done. Let’s look at what different repairs actually need.
Repairs That Need a Standard Homeowner Toolbox
- Remote programming: no tools beyond the remote itself
- Keypad battery: a small Phillips screwdriver
- Lubrication: a can of spray lithium or silicone lubricant
- Photo eye adjustment: a Phillips screwdriver and maybe a level
- Latch strike adjustment: a screwdriver and a drill with standard bits
- Hinge bolt tightening: a socket set with sizes commonly found in a basic kit
Repairs That Need Tools You Probably Don’t Own
- Torsion spring replacement: two correctly sized winding bars, lock pliers, and the experience to use them without injury
- Panel removal: a panel lifter, gantry, or hydraulic arm; three experienced people for a medium gate
- Frame welding: a MIG welder with proper gas setup, angle grinder, clamps, and weld-through primer; flux-core hobby welders don’t produce gate-appropriate structural welds
- Underground line work: a line locator, trenching tools rated for the depth, and a DigAlert confirmation
- Post resetting: a post hole digger or auger, mixed concrete knowledge, and the ability to set and brace a post perfectly plumb while the concrete cures
- Operator replacement with UL 325 compliance: a multi-meter, wire strippers, crimp connectors, the correct safety edge components for your gate type, and a thorough read of the installation manual, which most homeowners skip after page two
I’ve seen plenty of Malibu garages that would make a professional envious. But the tools above aren’t the kind of thing most people buy for a single afternoon. If you’re considering a repair that needs three specialty tools you’ll never use again, factor that into your cost math honestly. A professional already owns all of them and uses them weekly.
Common Mistakes to Avoid
- Adjusting torsion springs without winding bars. Using screwdrivers or pry bars as substitutes is how people lose eyes and teeth. One slip and the spring releases the torque instantly. There is no warning and no second chance.
- Bypassing the photo eyes because the gate keeps false-triggering. Every Malibu fog season, someone decides the photo eyes are annoying and wires them together. Congratulations, your gate now closes on whatever is in the way. The problem was a dirty lens, not the safety system.
- Jerry-rigging a sagging gate with a chain or turnbuckle. A gate sags in the hinge post, not in the middle. Pulling the center with a chain doesn’t fix the root cause and eventually bends the frame. Fix the post and the hinges, and the sag disappears.
- Using WD-40 on gate hinges. WD-40 is a solvent and water displacer, not a lasting lubricant. It temporarily quiets the squeak and then washes away, leaving the hinge drier than before. Use lithium grease or silicone.
- Replacing an opener without reading the UL 325 requirements. You can wire a new operator in an afternoon and create a violation without knowing it. The safety edge and photo eye placement requirements exist because people have been hurt and killed by gates that were installed uncompliant.
- Attempting panel removal alone with a floor jack. A floor jack under a 400-pound gate on a sloped Malibu driveway is a tip-over waiting to happen. The gate doesn’t balance on the jack’s small lift pad under lateral force, and when it shifts, it’s going downhill.
- Welding on a gate with the operator still powered. Welding current travels. If you strike an arc on a gate frame with a live operator control board, you can fry the board from stray current. Disconnect and isolate the operator completely before any welding happens.
When to Call a Professional
Call a professional when the gate has stopped moving and you don’t know why, when you hear a snap or a pop during operation, when the gate visibly sags and the post has shifted, when any safety device is malfunctioning, when the operator needs replacement and you want it compliant, or when you’ve already started a repair and realized partway through that you’re in over your head. There’s no shame in that last one. We’ve all started projects that turned out bigger than expected. The shame is leaving it half-done and unsafe because you didn’t want to make the call. In Malibu, a gate left in a half-repaired state is an invitation to problems you don’t want.
If you’re anywhere near this territory, Gate Repair in Malibu is what I do. We come out, look at what you’ve got, and give you an honest assessment. Sometimes the fix is smaller than you feared. Sometimes it’s bigger. Either way, you’ll know where you stand before you spend a dime with us. Call (559) 314-7708 and a live person answers. Every time. I’m the one who shows up, and my name is on the invoice. That’s been true since 2001 and it hasn’t changed.
Frequently Asked Questions
Most gate repairs in Malibu run between $150 and $850 depending on the failure point, gate type, and whether parts need replacing. A simple limit switch adjustment or photo eye realignment sits at the lower end. Torsion spring replacement, hinge post repair, or opener board replacement pushes toward the upper end and beyond for large custom gates. Every quote at Gatewood Fence & Gate is given upfront and agreed to before any work starts, so the price you hear is the price you pay. Call (559) 314-7708 for an exact number on your specific repair.
You can handle remote programming, keypad battery replacement, and basic photo eye cleaning yourself. Replacing the operator itself is a different job because California requires UL 325 entrapment protection compliance on new installations, and most homeowners don’t have the equipment or knowledge to verify proper safety edge and photo eye placement. If the opener itself has failed, get a professional who knows the brand and the code. We service LiftMaster, FAAC, BFT, Mighty Mule, Elite, and more, and we’ll tell you honestly whether the operator can be repaired or needs replacing.
We service and repair nine major brands including LiftMaster, FAAC, BFT, Linear, Viking, Ghost Controls, DoorKing, Elite, and Mighty Mule. If your gate uses one of these operators or another common residential brand, we can diagnose and repair it. Parts availability varies by brand, but we stock or can source most common components within a few days.
Salt air from the Pacific carries chloride particles that accelerate oxidation, especially within a few miles of the coast. Neighborhoods like Point Dume, Malibu Colony, and Paradise Cove see heavier marine layer exposure than canyon properties further up, and that means faster corrosion on hinges, bolts, and unsealed steel frames. The fix is regular lubrication, periodic rust treatment and re-sealing, and using marine-grade hardware when replacing components. Check out our Gatewood Fence & Gate home page for more on how we approach coastal corrosion.
Yes, we prioritize emergency gate repairs and a live person answers our phone 24/7 at (559) 314-7708. If your gate is stuck open, stuck closed, or posing a safety hazard, call and we’ll get you on the schedule as fast as possible. We’re locally based and know the Malibu roads, so we can give you a realistic arrival window, not a call center promise from three states away.
We handle both. If your gate is beyond sensible repair or you’re ready for an upgrade, Gate Installation in Malibu covers custom gates built for Malibu’s hillside lots, coastal conditions, and security needs. If the operator is the weak point rather than the gate itself, Gate Motor & Opener in Malibu covers operator replacement and upgrade with full UL 325 compliance. We’ll tell you honestly whether you need a new gate or a repaired one, because I’d rather fix what you have than sell you something you don’t need.
The Bottom Line
DIY gate repair has a real place, and I’d rather you handle the small stuff yourself than pay for a service call you didn’t need. Lubricate the hinges, change the battery, program the remote. When the work involves weight, stored force, electricity, or code compliance, the honest move is to call someone who’s done it a thousand times. The math is simple: a botched repair costs more than the original repair would have, in money and sometimes in fingers. In Malibu, where coastal air and hillside driveways add complication to every job, that line is worth respecting. If you’re not sure which side of it you’re on, call. A real person answers, and the advice is free. For more guides & resources, browse our blog.
Written by Hal Gatewood, Owner at Gatewood Fence & Gate, serving Malibu since 2001.