
Last updated August 26, 2026
Free on-site gate assessment - hinges, posts, and your LiftMaster or Nice gate operator checked before anything is quoted
The assessment is free and the quote is the invoice.

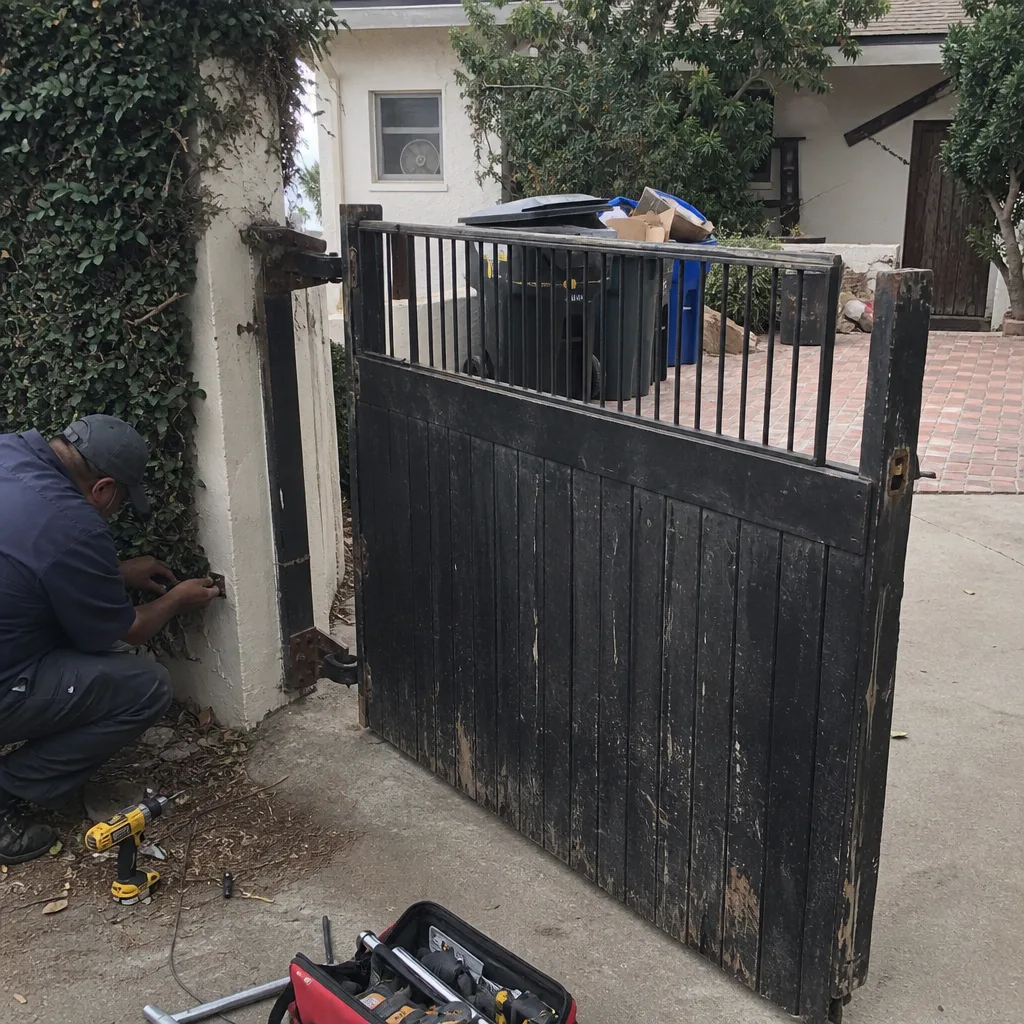 Before
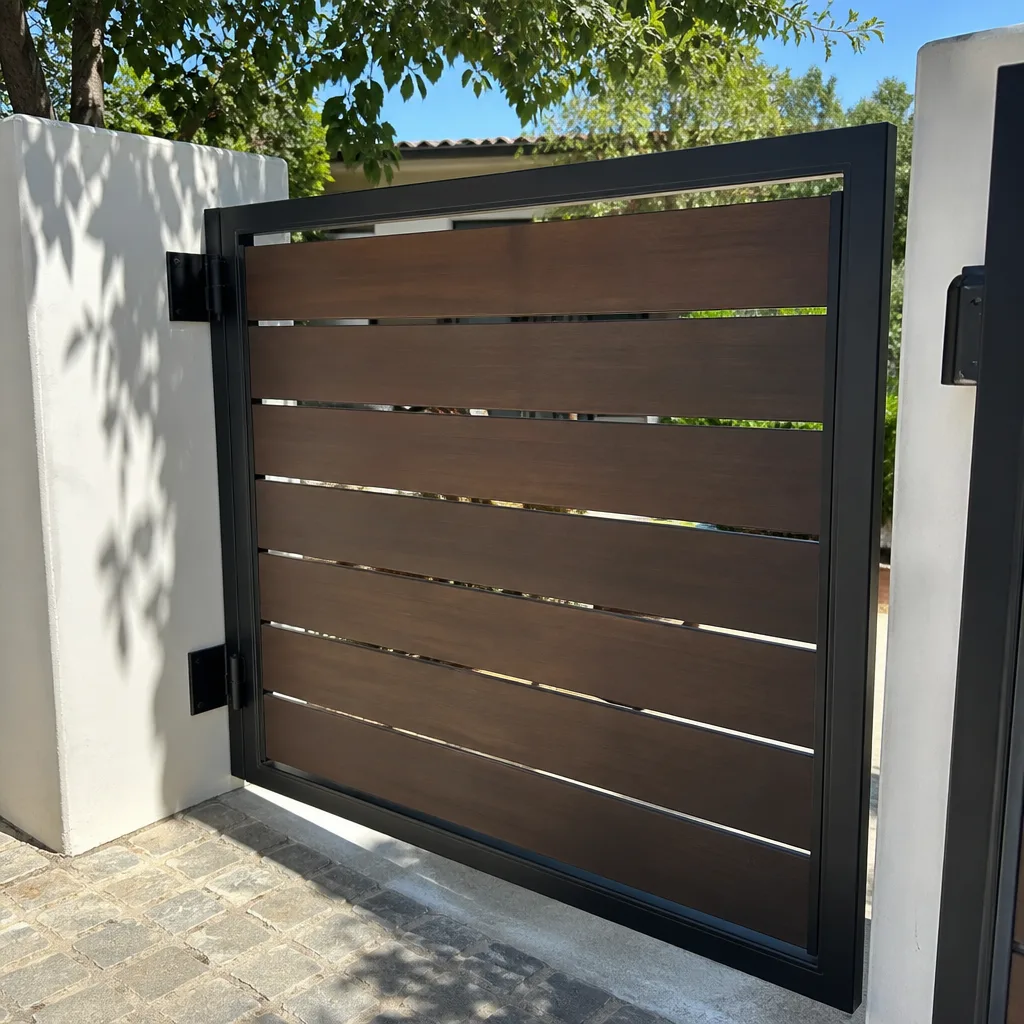 After
After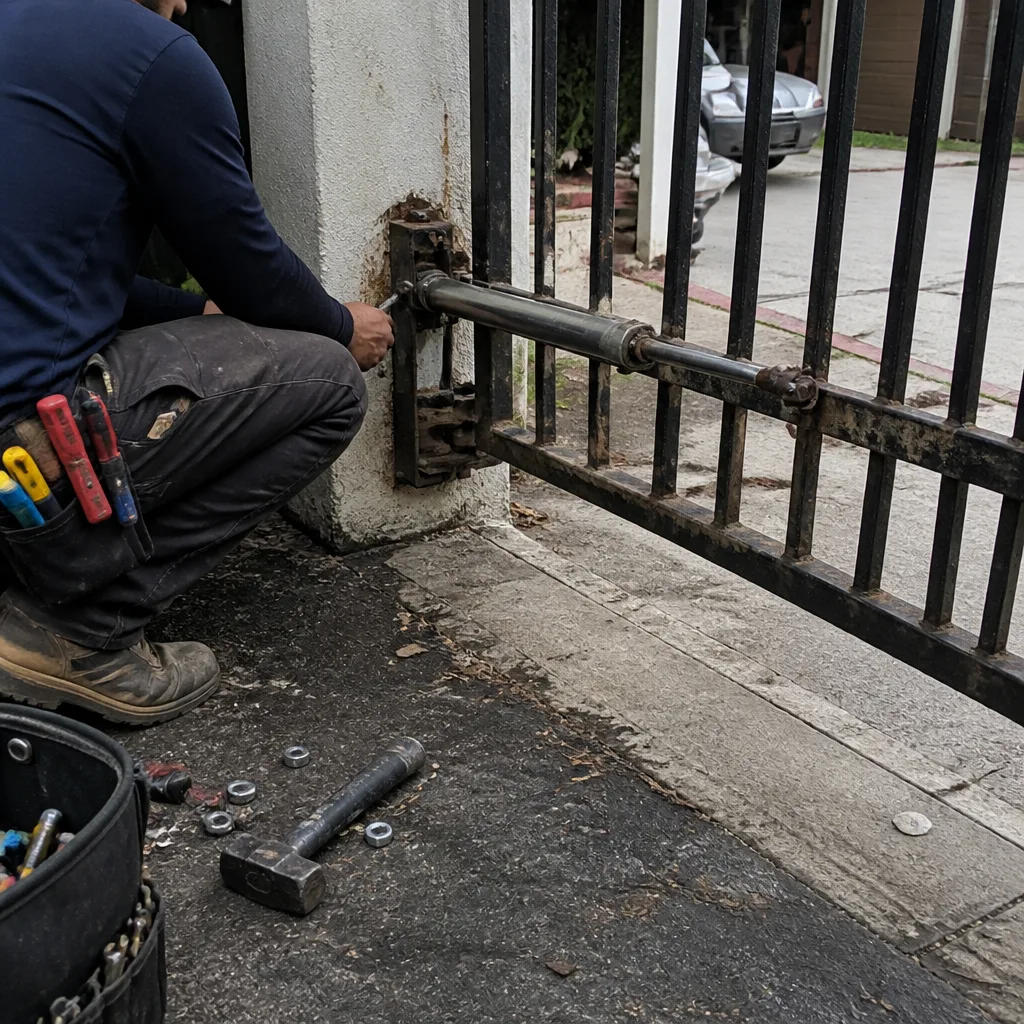 Before
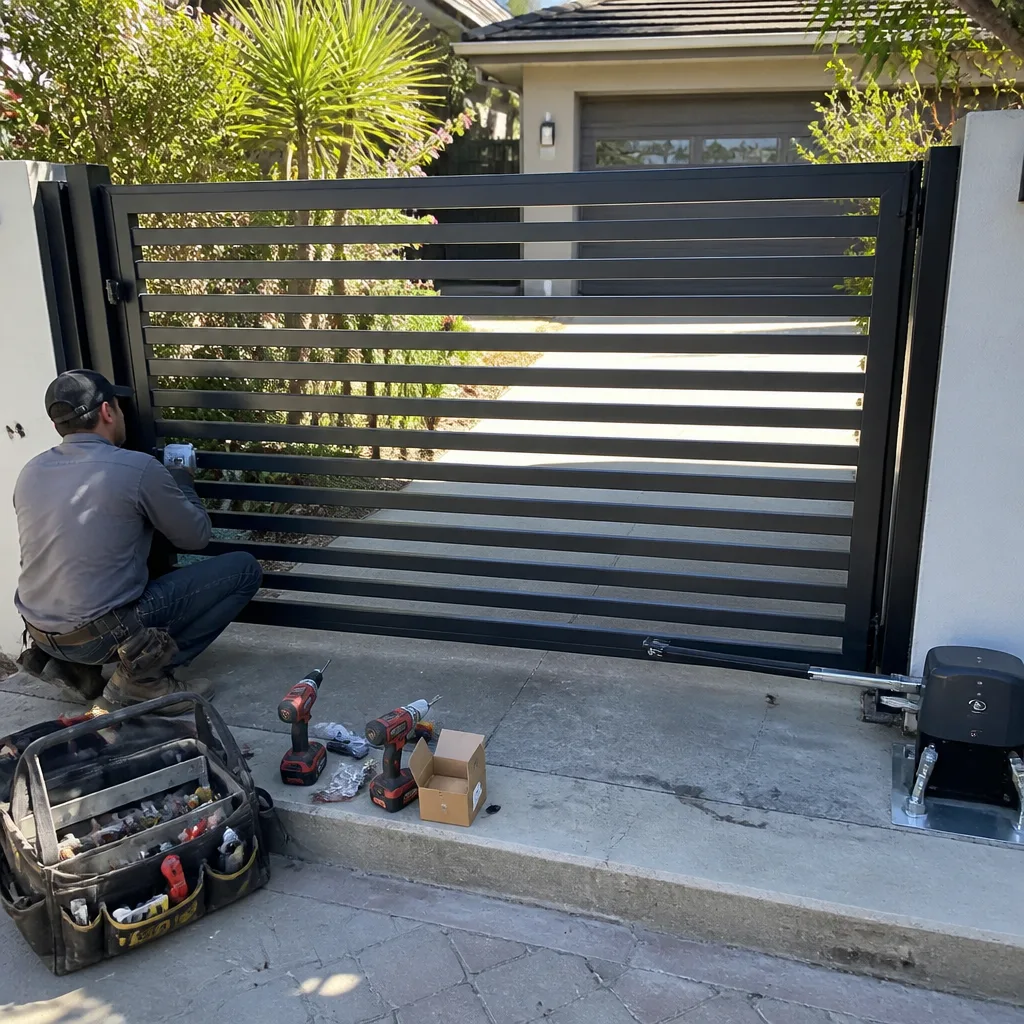 After
After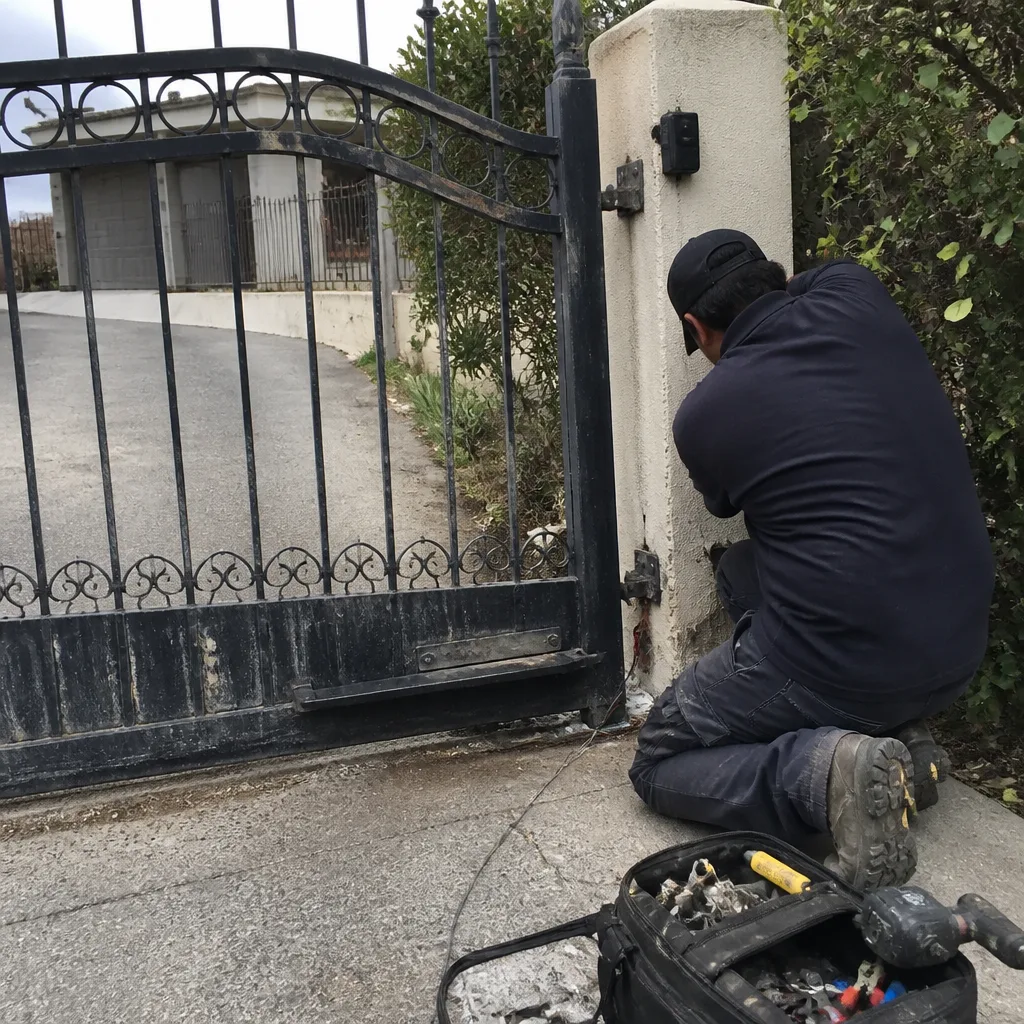 Before
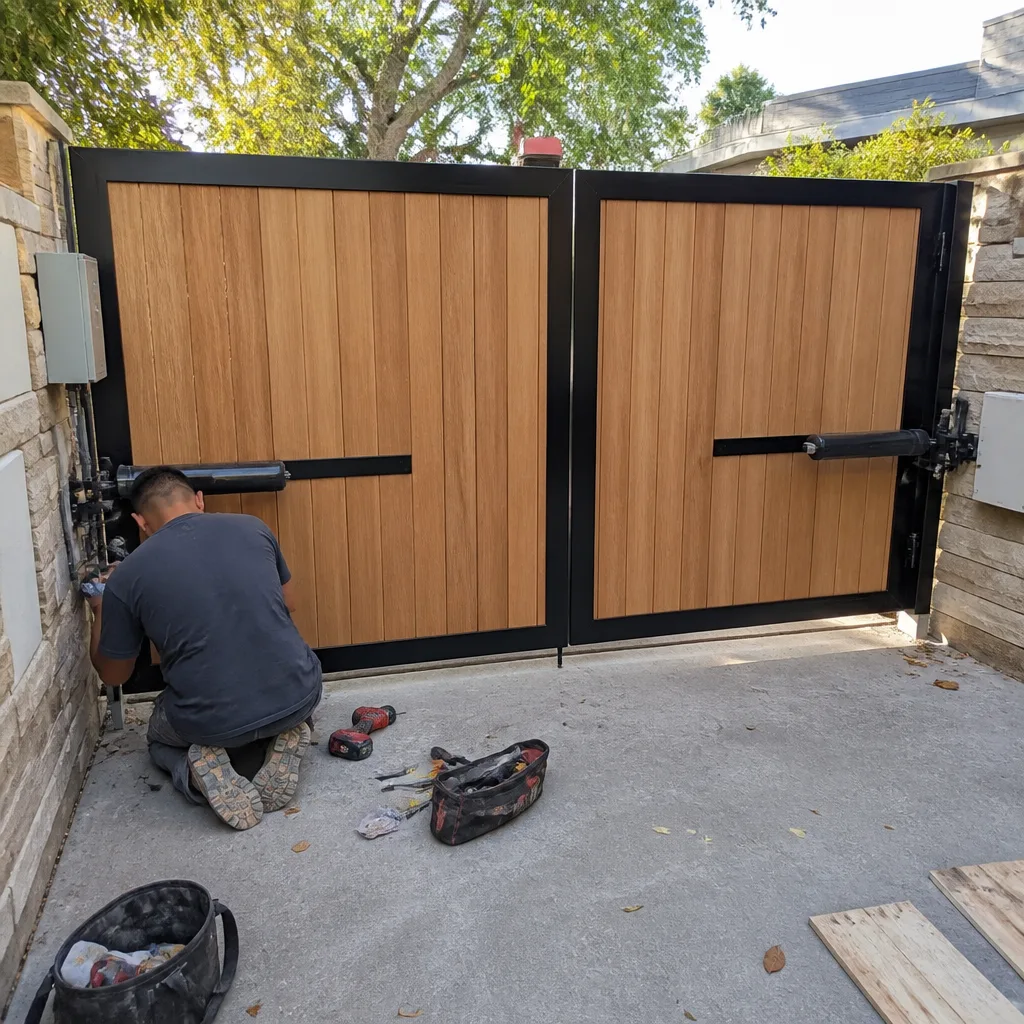 After
AfterGate Repair Maintenance Checklist for Malibu Homeowners
After 24 years of fixing gates along this stretch of coast, I can tell you the same thing happens every October. The first Santa Ana blows through, the ash settles, and within a week my phone rings with the same complaint: “It worked fine last month and now it’s grinding.” The dust here isn’t like inland dust. It’s fine enough to get past seals, it’s abrasive, and it mixes with the salt air into a paste that eats hinges and packs itself into gear teeth. This guide is the checklist I wish every Malibu homeowner had before the gate starts making that sound, and if you need professional help, our Gate Repair services are available year-round. It covers what to inspect, when to inspect it, how weather actually affects your hardware, and what you can safely handle versus what needs a trained eye.
Quick Answer
A proper gate maintenance checklist for Malibu covers monthly visual checks of hinges and opener mechanisms, quarterly flushing of drive gears and limit switches, twice-yearly inspection of all fasteners and welded joints, and immediate cleaning after any Santa Ana wind or wildfire ash event. Coastal salt air means hardware here corrodes two to three times faster than it does ten miles inland, so a gate that looks fine often isn’t. Our shop’s standard recommendation is a 20-minute visual walkaround every 30 days, plus a deeper 45-minute service every spring and fall, and you can find more guides & resources on our site.
Table of Contents
- The Monthly Malibu Gate Checklist: 20 Minutes That Save You a Service Call
- A Month-by-Month Gate Maintenance Calendar Built for Malibu Weather
- The Five Hardware Points That Corrode First in Coastal Salt Air
- How to Flush and Re-Lubricate an Operator After a Santa Ana or Ash Event
- What a Homeowner Can Check vs. What Needs a Professional Eye
- Documenting Your Maintenance: Proof for Warranties and Faster Diagnosis
- Malibu Clay Soil and Gate Post Movement: The Overlooked Problem
- Common Mistakes to Avoid
- When to Call a Professional
- Frequently Asked Questions
- The Bottom Line
The Monthly Malibu Gate Checklist: 20 Minutes That Save You a Service Call
Most gate failures we see in Malibu didn’t start as failures. They started as a loose bolt, a dry hinge, a photo eye that was a quarter-inch out of alignment. The gate gave warning signs for weeks. This monthly walkaround catches those warnings while they’re still cheap to fix. Do it on the first Saturday of the month. You’ll spend more time finding your work gloves than actually inspecting. If you own an automatic gate in Malibu, especially in neighborhoods like Point Dume, Las Flores Canyon, or Encinal Bluffs where the marine layer sits heavy every morning, this checklist is non-negotiable.
- Hinge bolts and pins: Put your hand on the gate and try to rock it back and forth along its swing path. Any clunking or movement at the hinge means the pin or bushing has wear. Tighten all hinge bolts with a socket. If they keep loosening month after month, the post is starting to move.
- Opener chain or belt tension: With the gate in manual release, run your hand along the chain. It should deflect no more than a half inch at its midpoint. If it’s slack, note it. If it’s tight enough to hum like a guitar string, that’s also wrong and will kill the gearbox.
- Photo eye lenses: Wipe both lenses with a dry cloth. Salt haze builds up fast here, and a dirty photo eye is the number one cause of “the gate reverses for no reason.”
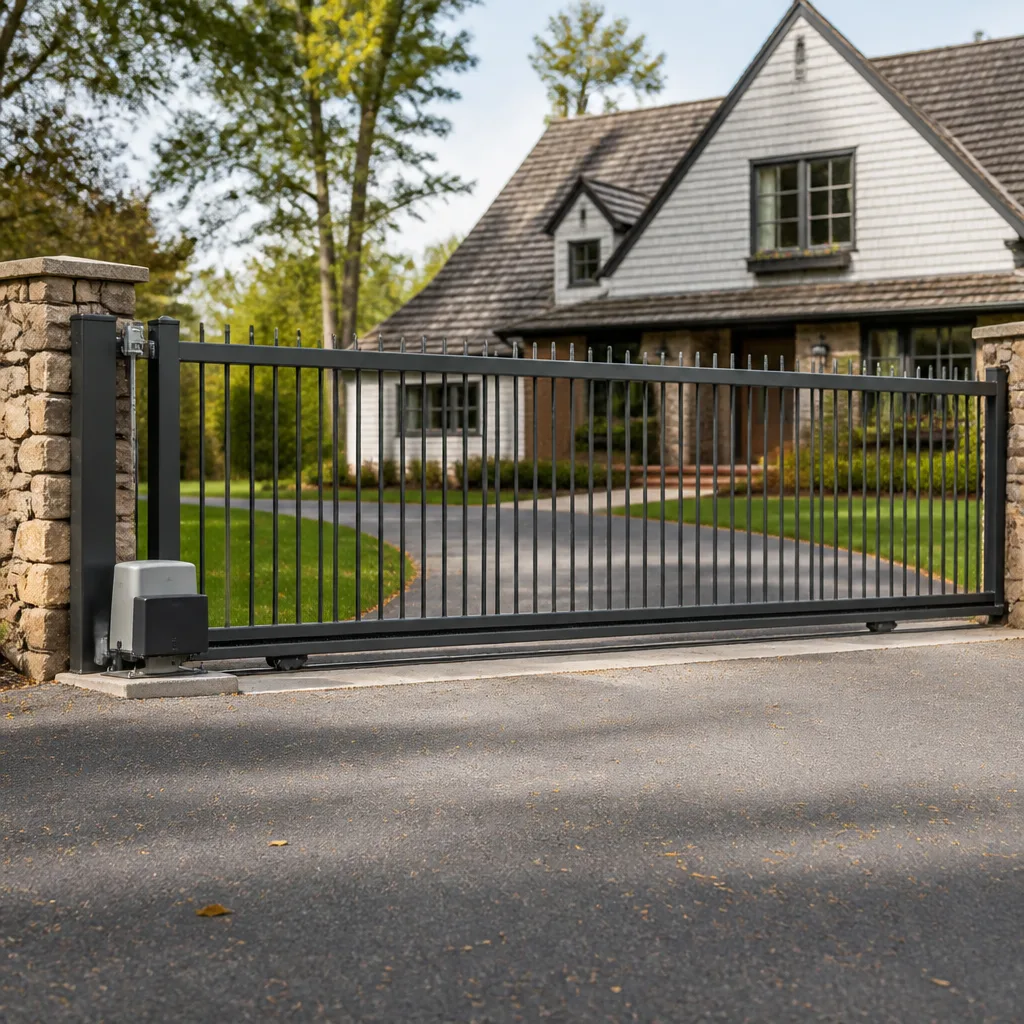
- Track and roller channel (for slide gates): Use a stiff brush to clear sand and debris from the V-track. Malibu wind deposits grit constantly. A grain of sand in a roller feels like a boulder to the motor.
- Limit switch area: Look at where the gate stops in both the open and closed positions. If it’s creeping past its usual stop point, the limit switch is drifting. That’s a ten-minute adjustment now or a bent gate later.
- Cables and springs on counterbalance systems: Look for frayed strands on any exposed cable. Run a gloved hand along the spring for rust scaling. If cable strands are broken, call a professional. Cables under tension are dangerous to work on.
- Keypad and access box seals: Check the rubber gaskets around any keypad, intercom, or control box mounted outside. UV and salt degrade those seals in about three years. A cracked gasket lets moisture into electronics.
These seven checks take less time than mowing a small lawn. We’ve had customers in Serra Retreat and Corral Canyon tell us this monthly habit cut their repair calls by half. It works.
A Month-by-Month Gate Maintenance Calendar Built for Malibu Weather
National gate maintenance guides are built around seasons. They tell you to “winterize” in October and “summerize” in May. That advice is useless in Malibu, which has no winter and no summer in the way those guides mean. What we have is rain, marine layer, Santa Anas, and sun. Here’s the actual calendar our shop uses, month by month, based on what we see coming through the door all year.
January through March (Wet Season, Cool Days)
This is when Malibu’s clay-heavy soil is saturated. Posts move. Gates that swung perfectly in October start catching on their latch in February because the post tilted an eighth of an inch. During these months, check gate-to-post clearance every two weeks. If the gap has closed, the fix starts with the post, not the latch. A gate sags in the hinge post, not in the middle. We also see more operator failures in these months from internal condensation. Look for fogging inside the control box or any sign of water beading on the circuit board.
April through June (Marine Layer Season, Morning Fog Every Day)
The marine layer sits on Malibu’s coast like a wet blanket for four to six hours every morning. That’s four to six hours of 90% humidity on exposed steel. Hardware that never dries out starts rusting from the inside. During May and June, inspect hinge pins and bolt heads closely for red rust blooms. If you see any, clean with a wire brush and apply a marine-grade anti-corrosion treatment. Do not use WD-40 as your long-term protectant. It displaces water fine but washes off in one rain. Use a proper lithium grease or a spray rated for marine use.
July through September (Bone Dry, Hot, and Windy)
These are the months that test plastic parts. UV from the Malibu sun breaks down control box housings, keypad faces, and wire insulation. A black control box on a west-facing gate in Zuma Beach can hit internal temperatures over 140°F in August. That heat warps circuit boards and causes solder joints to crack. During these months, feel the outside of your opener housing near mid-afternoon. If it’s too hot to hold your hand on for five seconds, consider adding a shade panel or at least painting the box a lighter color. And check all wire runs for cracked insulation, especially where wire enters conduit.
October through December (Santa Ana Season)
Santa Anas are Malibu’s gate killer. October through early December brings sustained dry winds at 30 to 60 mph, often carrying ash, sand, and fine dust. A gate operator needs to be cleaned after every significant wind event, not just once a season. We’ll cover the full cleaning process below, but the short version: if you can hear grit when the gate moves, don’t keep running it. Every cycle you run with grit in the gear teeth is cutting life off that gearbox. The post-Santa Ana service call is the single most common our shop handles, ahead of Gate Installation in Malibu jobs and everything else.
The Five Hardware Points That Corrode First in Coastal Salt Air
Salt air doesn’t attack a gate evenly. It concentrates on certain components and ignores others. These five points are where we see coastal corrosion first, ranked by how early and how fast it appears. If you only inspect five spots all year, inspect these.
1. Hinge Pins and Bushings (Corrosion appears: 6-12 months after install)
The hinge pin is where dissimilar metals often meet. A steel pin in an aluminum bracket with salt water between the two creates a galvanic cell that corrodes fast. We’ve removed hinge pins from gates in Broad Beach that looked like they’d been in the ocean for a decade. They were three years old. Inspect hinge pins every month. If they show orange rust or white powdery oxidation, clean them and lubricate with marine lithium grease. If the pin is visibly worn on one side, the hinge bushing is gone and the pin needs replacement.
2. Gate Operator Circuit Boards and Terminals (Corrosion appears: 1-2 years after install)
The control board inside your opener is protected from rain but not humidity. Salt-laden marine air finds its way into every control box here, even ones rated for outdoor use. Corroded terminals cause intermittent failures that drive homeowners crazy because the gate works fine one minute and refuses to open the next. If you open the control box and see white or green fuzz on any terminal, that’s oxidation conducting electricity where it shouldn’t. Shut off power to the opener before doing any inspection inside the box. A professional can clean and re-seat terminals. This is not something to chip at with a screwdriver while power is live.
3. Photo Eye Brackets and Wiring (Corrosion appears: 1-2 years after install)
Photo eyes sit low to the ground, right in the zone where salt spray and sprinkler overspray hit. Their mounting brackets rust, their wire nuts corrode inside the plastic housing, and the small adjustment screws seize solid. If your photo eye brackets have rust, replace them now while they still turn. Seized photo eye screws make a simple alignment adjustment impossible later.
4. Track Bolts and Concrete Anchors (Corrosion appears: 2-3 years after install)
For sliding gates, the V-track bolts take abuse from every direction: salt from the air, water pooling in the track, and constant pressure from the gate’s weight rolling over them. We see anchor bolts that have rusted down to half their original diameter while everything above looked fine. Check the bolts every quarter. If they’re orange and flaking, wire brush and treat them, or replace them if they’re structural.
5. Spring Cables and Counterweight Chains (Corrosion appears: 3-5 years after install)
Spring and counterweight cables are the last to show corrosion but the most dangerous when they fail. A rusted cable under tension can snap and whip. If you see broken strands, rust scaling, or reduced diameter anywhere on a tensioned cable, do not try to release the tension yourself. Call a professional. Cable replacement on a counterbalanced gate is quick, cheap, and safe when done by someone who works with it every day. Done wrong, it can seriously injure someone.
How to Flush and Re-Lubricate an Operator After a Santa Ana or Ash Event
Fine dust and ash from Santa Ana winds pack into drive gears and limit switches faster than most people expect. That’s the opening line of this whole guide because it’s the thing Malibu homeowners miss over and over. After any significant wind event, or if there’s been wildfire ash in the air, follow these steps before you run the gate more than a few cycles.
- Disconnect power to the opener. Find the circuit breaker for the gate operator and turn it off. Then unplug the operator if it has a service disconnect. You’re going to be working near moving gears and open wiring.
- Put the gate in manual release. Most operators have a release handle or key. This disengages the gate from the motor so you can move it by hand without fighting the gearbox.
- Open the control box and look inside. If you see a fine layer of dust on the circuit board, do not spray anything inside the box. Use a can of compressed air, the kind made for electronics, to blow the dust off the board and terminals. Hold the can upright and use short bursts.
- Blow out the drive gear area. Using the same compressed air, blow the dust out of the gear teeth, the chain or belt drive, and around the limit switch area. Get the air nozzle close but don’t let the nozzle touch anything. The goal is displacing grit, not pushing it deeper into sealed bearings.
- Wipe down exposed rails, chain, and any visible moving metal. Use a clean, dry rag. A light motor oil on the rag is fine for cleaning, but don’t soak anything. We see operators fail because someone drowned a gearbox in WD-40 after a dust event. Too much lubricant just makes a paste that grinds harder.
- Re-lubricate only the specified points. Check your opener’s manual for lubrication points. Most modern LiftMaster and Mighty Mule operators use sealed bearings and don’t need lubrication beyond what the manual says. Older FAAC and BFT models may have grease fittings or open gear teeth that call for a specific grease. Follow the manufacturer’s recommendation exactly. Using the wrong grease or adding grease where the manual says do not will void your warranty.
- Re-engage the operator and test the gate with the manual control. Run it open and closed two or three times. Listen for grinding. If you still hear grit, do not spray more lubricant at it. That grit is embedded somewhere and needs to be removed, not buried. Call us; we’ll find it.
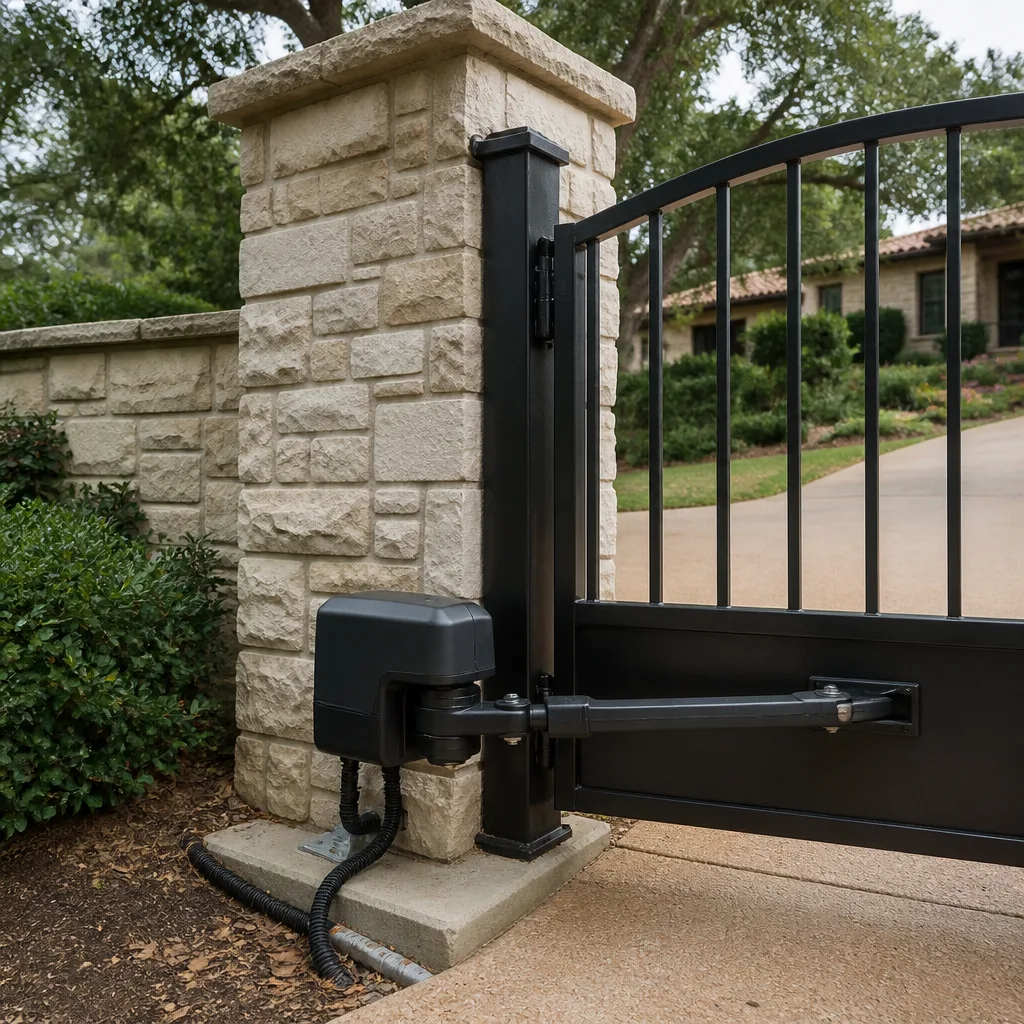
If you’re not comfortable opening the operator housing, or if it’s a sealed unit, skip the internal cleaning and call us. We’ll flush the unit properly and check the drive components at the same time. We service Gate Motor & Opener repair in Malibu for all the major brands, and a post-wind flush is a standard service call for us.
What a Homeowner Can Check vs. What Needs a Professional Eye
The line between homeowner maintenance and professional repair is about force and electricity. If a task requires pulling tension, lifting weight, or working inside a live electrical enclosure, it belongs to someone who does it every day and is insured to do it. That’s not gatekeeping; it’s respect for what these systems can do to a hand or an eye when they fail. We’ve seen what a cable under tension does when a well-meaning homeowner tries to “just tighten it a little.” Every one of those repairs could have been done safely with a phone call.
Homeowner-Safe Maintenance
- Visual inspection of all hinges, bolts, brackets, and track
- Cleaning photo eye lenses with a dry cloth
- Clearing debris from the gate track and roller channel
- Checking chain or belt tension by feel (not adjusting it)
- Lubricating accessible hinge pins and exposed moving parts that don’t require disassembly
- Testing the manual release mechanism
- Blowing dust out of the control box with compressed air (power disconnected)
- Documenting everything you find in a maintenance log
Professional-Only Work
- Anything involving cable or spring tension: Counterbalance cables and springs hold stored energy that releases violently if the wrong fastener is loosened.
- Live electrical work: If the cover to the electrical junction box requires a screwdriver to open and power is live inside, that’s electrician territory. The same goes for low-voltage controls that you’re not certain are low voltage.
- Welding and structural repairs: A cracked weld on a gate frame or hinge post needs to be prepared and welded by a certified welder. We weld on site, at the gate, in your driveway, which means the gate stays in place and you see the actual repair. A poorly executed weld will fail and could cause the gate to fall.
- Operator replacement or motor service: Motor capacitors, gear drive replacements, and limit switch calibration are doable by a trained technician and frustrating for everyone else. A mistimed limit switch can drive a gate through its end stop and bend the panel.
- Gate alignment and post repair: If the gate no longer meets the latch or the striker plate, something structural has moved. The fix involves the post, not the latch. We re-set posts in Malibu regularly because of soil movement discussed below.
The cost of a service call for something above is less than a trip to urgent care for a crushed fingertip or a lacerated forearm. We say that not to scare anyone but because we have literally stood next to homeowners who were lucky. When in doubt, call and ask. We answer the phone, and we’ll tell you straight whether something is safe to attempt or should wait.
Documenting Your Maintenance: Proof for Warranties and Faster Diagnosis
Manufacturers ask for maintenance records when you file a warranty claim. A notebook with dates and notes is fine. A phone camera roll with time-stamped photos is better. A short note in a notes app with what you checked, what you found, and what you did about it is the best of all. The goal is to be able to answer the question, “When was this last inspected and what did you find?” without a moment of hesitation.
The fastest diagnostic information you can give a gate technician is the answer to these three questions: What changed, when did it change, and what did you notice first? If you keep a simple log, you can answer all three. A customer who can say “It started grinding on October 14th, two days after the last wind event, and it’s been getting louder when I open it in the morning but not at night” gives me half the diagnosis before I even arrive. A customer who says “It just broke” might be looking at a bill for exploratory diag that could have been cut in half with a log.
Here’s what a useful maintenance log looks like. Nothing fancy. Just consistent.
| Date | What You Checked | What You Found | What You Did | Next Step |
|---|---|---|---|---|
| Jan 6 | Hinge bolts | Bottom bolt loose on gate panel | Hand-tightened with socket | Recheck February |
| Feb 3 | Hinge bolts | Bottom bolt loose again | Removed, applied thread locker, re-tightened | Recheck monthly |
| Mar 2 | Photo eye | Left lens hazy with salt | Wiped with dry cloth | None |
| Apr 6 | Operator inside cover | Fine dust on board | Compressed air blowout | Consider better sealing |
| May 4 | Chain tension | Slightly loose, half-inch deflection | No action, within spec | Recheck in June |
If a warranty dispute comes up and you can produce this log, most manufacturers will work with you. If you can’t, the default assumption is neglect, and the warranty conversation gets harder. The log also helps us work faster when you call Gatewood Fence & Gate for service. We can see the progression. We know what was already tried. Half the repair time is diagnosis, and your log eliminates most of it.
Malibu Clay Soil and Gate Post Movement: The Overlooked Problem
This section covers the thing almost no national gate guide mentions because almost no national gate guide writer has dug post holes in Malibu soil. The hillsides here are mostly clay-heavy sedimentary and shale-derived soil that swells when wet and contracts when dry. A wet season saturates the ground, the clay expands, and the soil literally pushes against fence and gate posts. Then the dry season bakes it, the clay shrinks and cracks, and posts settle. Over one wet-dry cycle, a post can move an eighth of an inch. Over five years, that’s more than half an inch of drift. A half inch at the post base is two inches at the latch. That’s why gates in Malibu stop closing properly without any visible hardware failure.
The number one clue that soil movement is your problem: the gate works fine for months, and then after a heavy rain it starts sticking or the opener labors to reach the closed position. You check the hinges, the operator, the tracks, the photo eyes, and everything looks fine. But the post moved. A gate sags in the hinge post, not in the middle, and we say that because this exact scenario walks into our shop at least once a week during the wet season.
Signs Your Gate Post Has Moved
- The gate gap at the latch side closes or opens by more than a quarter inch over a season
- The gate starts scraping concrete or dragging at one specific point in its swing
- You see a cracked weld at the post-to-frame connection that wasn’t there before
- The gate’s open position drifts slightly, even though the limit switch is unchanged
- The post shows visible tilt when you sight down it from the street side
Fixing a moved post isn’t as simple as digging it up and pouring more concrete. In Malibu, we typically set gate posts in concrete piers that extend below the active clay layer, and we use additional anchoring or bracing where soil movement is chronic. Some areas of the Malibu hills, especially near kanan and Latigo Canyon, have soil that moves enough every season that standard post-setting methods fail within three years. A professional assessment of your post foundation is the right call if you’re seeing movement signs. We handle Gate Repair in Malibu with this soil reality in mind because we’ve been digging in it since 2001.
Common Mistakes to Avoid
- Lubricating without cleaning first. Adding fresh grease on top of old grit makes a lapping compound that grinds metal faster than dry operation would. Always clean, then lubricate.
- Using WD-40 as a long-term hinge lubricant. It’s a water displacer, not a grease. It washes out and leaves the surface unprotected. Use marine lithium grease on hinges and pins.
- Ignoring a dirty photo eye. A hazy lens makes the door reverse randomly, and most people then call about the operator when the operator is fine. Clean before you call.
- Running the gate when it’s grinding. Every grinding cycle scores the gear teeth deeper. One week of “it’s just a little noisy” can turn a clean-up into a gearbox replacement.
- Adjusting the limits without marking the original positions. If you turn a limit screw, take a photo or mark it first. People lose their original settings and then the gate overshoots, and now there are two problems.
- Assuming the gate panel is the problem when it’s the post. You can replace a bent gate panel, but if the post is drifting, the new panel will fail the same way within a couple of seasons.
- Skipping the maintenance log. A log is proof. No log, no pattern. The log is what turns a guess into a diagnosis.
When to Call a Professional
Call us if the gate is grinding and cleaning doesn’t fix it, if hinges are worn or pitted, if the gate no longer meets the latch, if a cable shows broken strands, if the opener is dead and the breaker is not tripped, or if you see a crack anywhere in a welded joint. These are not “keep an eye on it” conditions. They get worse quickly and they get more expensive the longer they run. Safety items, particularly cables and tensioned springs, should never be handled by a homeowner in a coastal environment where corrosion has already weakened the metal. Gatewood Fence & Gate offers free estimates in Malibu. Call (559) 314-7708 and Hal will tell you directly what the job needs.
Frequently Asked Questions
Monthly visual checks, quarterly debris removal and light lubrication, and a full cleaning after every Santa Ana or ash event is the right rhythm for Malibu. Coastal salt air means pieces wear faster here than inland, and if you wait for “something to break” before doing anything, the bill is always bigger. Call (559) 314-7708 if you want a professional annual inspection added to your routine.
Fine dust and ash from the Santa Anas get into the drive gears and limit switches, which causes grinding without any visible breakage. Clean the area with compressed air and a dry cloth, then test it. If grinding continues or worsens, call us at (559) 314-7708 and we’ll flush the unit properly.
Post-Santa Ana drive cleaning and adjustment, followed closely by hinge pin replacement from salt-air corrosion and photo eye misalignment from wind-blown debris. The wind here works gates hard. If you’re hearing something, call us and we’ll give you a straight answer.
You can inspect it, and you can tighten visible hinge bolts, but a gate that sags is usually a post problem, not a panel problem. Fixing the panel without the post means you’ll fix it twice. The right fix involves re-setting or bracing the post, which takes equipment and experience with Malibu’s clay soil. We do this work regularly and can give you a free estimate.
Minor adjustments and cleaning typically run between $120 and $250. Hinge replacement is usually $180 to $400 depending on gate weight. Operator replacement runs $800 to $2,500 depending on the opener. If you need a firmer number, call (559) 314-7708 for a free estimate; the price is quoted and agreed before any work starts, and we don’t surprise you at the door.
Yes. The motor itself is not simple to bolt on, but the bigger issue is matching the opener to the gate weight, the duty cycle, and local wind conditions. A gate in Malibu needs an opener rated for its actual operating conditions, and mis-spec’d openers fail early. We service nine major brands including LiftMaster, FAAC, BFT, and Mighty Mule, and we’ll quote you the right unit for your specific gate.
The Bottom Line
The gate that gets maintained monthly lasts a decade. The gate that gets ignored until it fails lasts about three years in Malibu, as detailed in our Gate Repair Warning Signs: A Malibu Homeowner’s Reference Guide. Salt, wind, ash, and soil movement all team up against you here, and the only defense is regular inspection and quick, small repairs. You don’t need a fancy maintenance plan or an app. You need 20 minutes a month, a dry cloth, a can of compressed air, and a log. And when you find something beyond the scope of a wipe-down and a visual check, you call someone who will actually show up, tell you the truth, and stand behind the work. That’s what we do. Gatewood Fence & Gate has been serving Malibu since 2001, and we answer the phone when you call.
Call (559) 314-7708 for a free estimate, or reach out and we’ll walk you through your gate’s specific maintenance needs. The estimate is free and the price is quoted before we start. Hal Gatewood’s name is on the shop, his address is published, and the 90-Day Done Right Promise is stamped on every job.
Written by Hal Gatewood, Owner at Gatewood Fence & Gate, serving Malibu since 2001.